
Installing a Fiamma Turbo Vent
By - Spinner
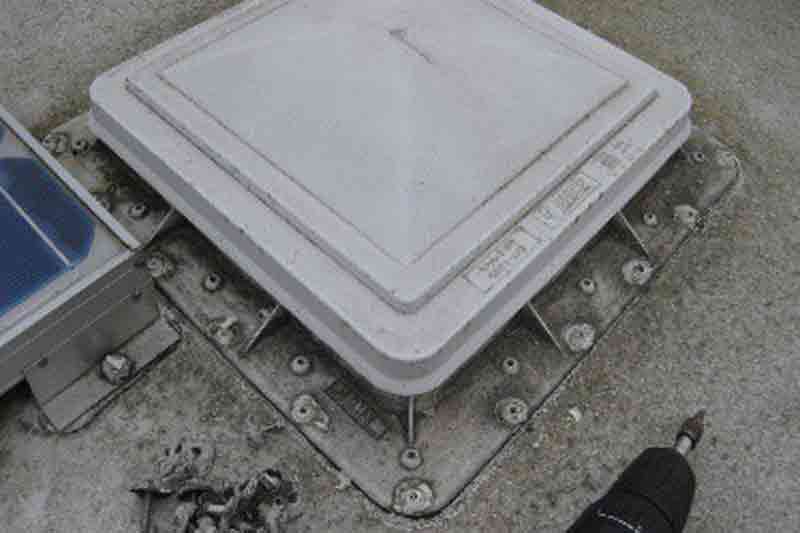
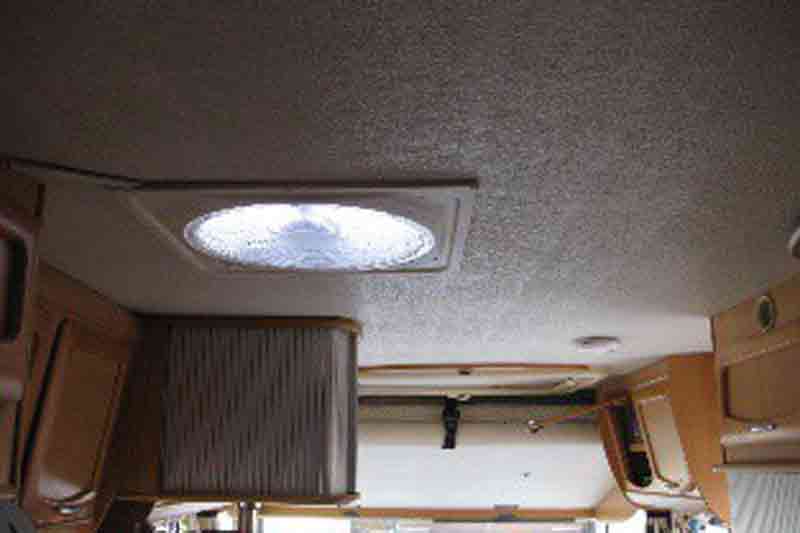
We have had a Fiamma Turbo Vent in our fourteen year old motorhome ever since we purchased it twelve years ago and find that during those very hot days it really does keep the van cool. We also have air-conditioning fitted which we rarely use as we are not fans (no pun intended) of AC, much prefer to open the windows. However, in the last year or so the control switch of the Turbo Vent was playing up, the plastic had discoloured and there were signs of stress cracks on the corners so it was decided to replace it.
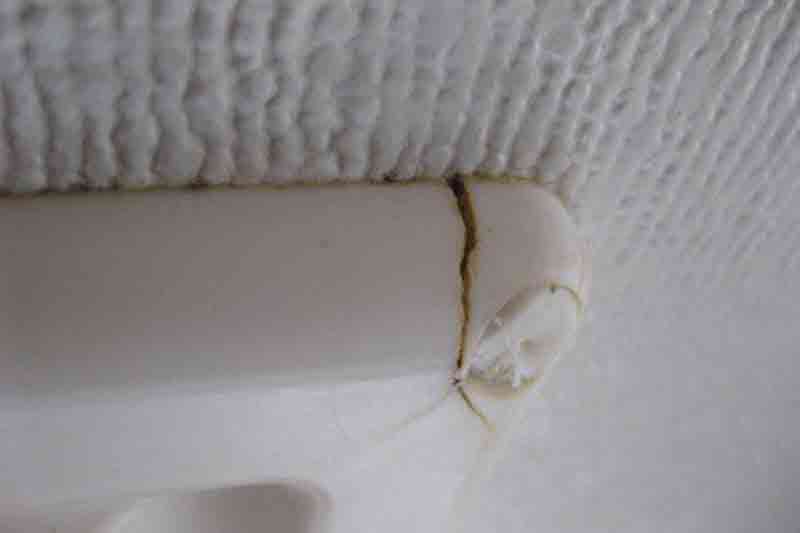
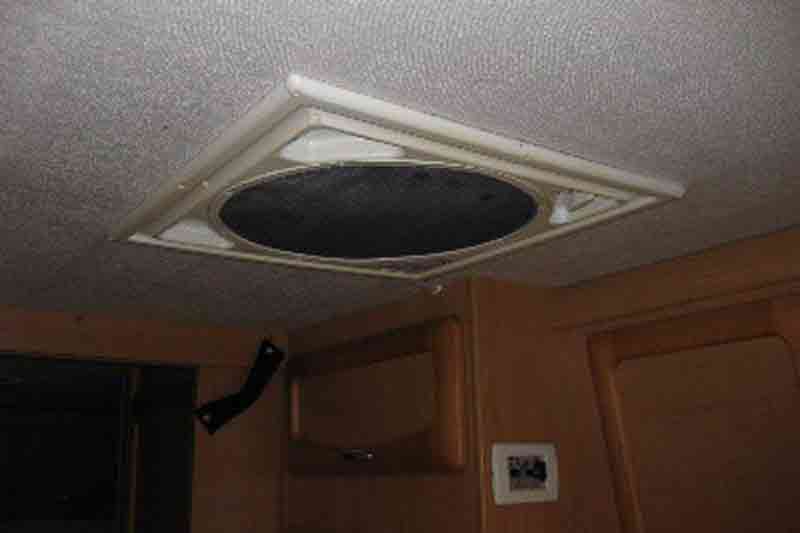
The old Turbo Vent showing signs of age
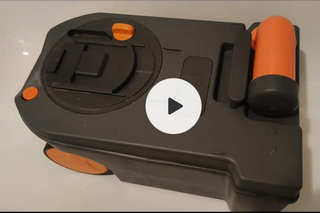
Fiamma make several models of Turbo Vent and the one we chose was the Premium version with touch controls and crystal dome. We chose this model as there was little difference in price and the crystal dome would give extra light..
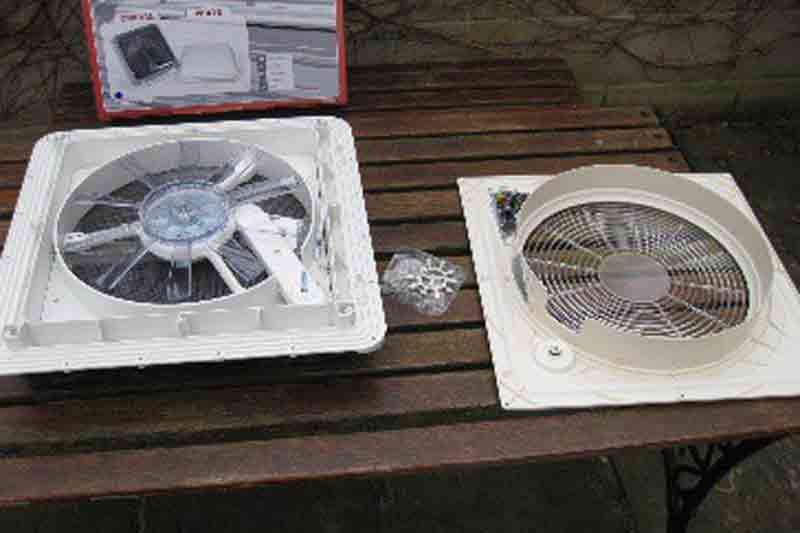

To aid fitting, the Turbo Vent is in two parts and the roof of the motorhome is sandwiched between the two halves.
The Turbo Vent fits into a cut-out of 400 x 400mm which is the same size as a standard roof vent thus making it easy to replace. The first job is to release the inside part of the old Turbo Vent, simply remove the eight small self-tapping screws and ease off the cover and disconnect the 12 volt wiring from the chocolate block type connector.
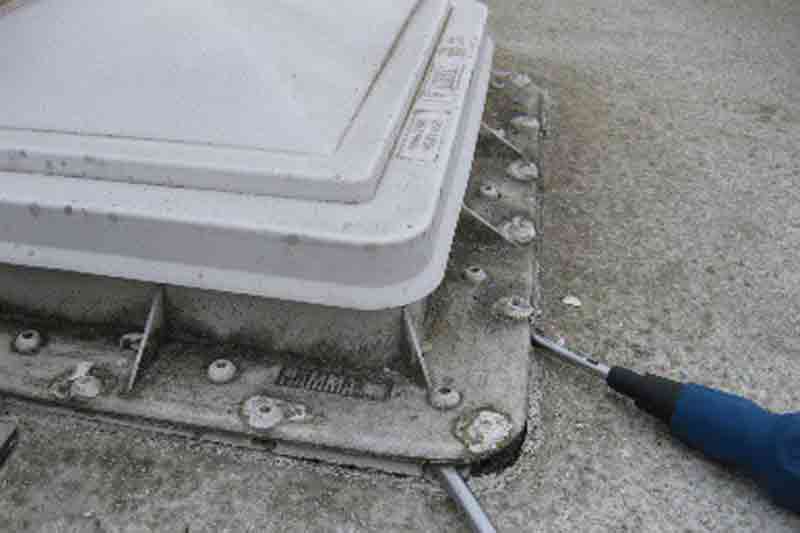
Remove the screws holding the vent to the roof and carefully prise off the old vent
Working from outside on the roof remove the screws holding the vent to the roof. The old vent would have been sealed with a non-setting mastic and this is what is now holding the vent to the roof. With an old flat head screwdriver or blunt chisel carefully prise off the old vent taking care not to damage the roof Now, with a flat paint scraper remove the old mastic and thoroughly clean the area in preparation for the new vent

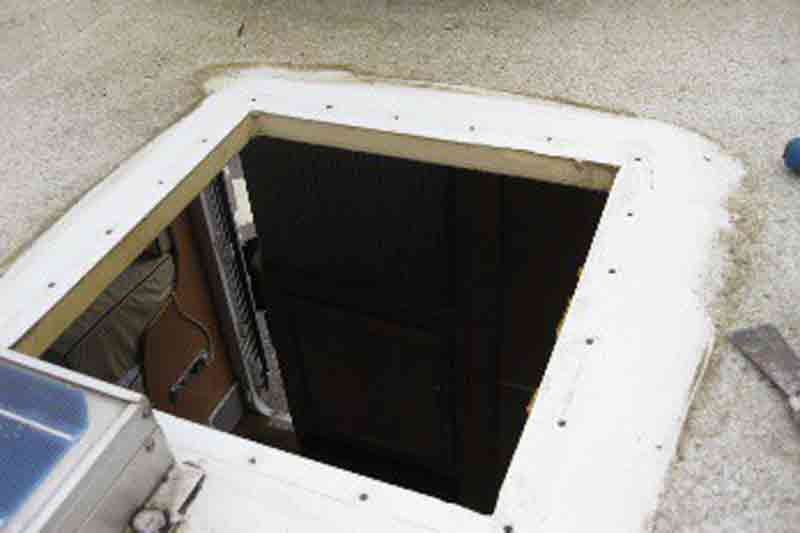
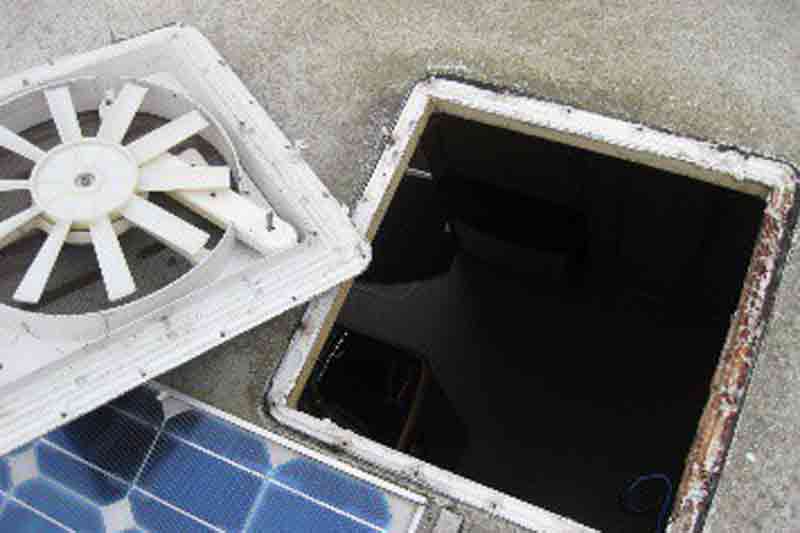
Cleaned aperture ready for the new vent and the old vent removed
Fitting the new vent
Tip - Before applying the sealing strip it is worth positioning the new vent to the aperture to ensure that it fits!

Place the new Vent into hole making sure that the hinged side is facing forward.
Apply the sealing strip. The instructions didn’t say how much. I put three strips as all would be in contact with the roof.
Centrally place the new vent in the cut-out and screw it to the roof. I used the original stainless steel screws Note - Fiamma do not supply screws or sealing strip so make sure you have these before you start! Remove the protective film last of all.

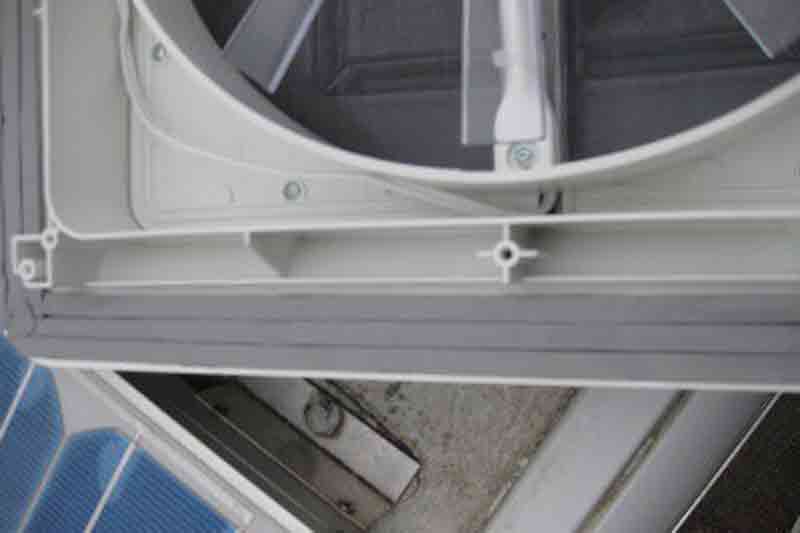
Connect the motor wires and the 12volt feed to the choc blocks on the circuit board and then carefully fit the inside cover to the ceiling with self-tapping screws (not supplied).
Tip - Make sure the winding knob is located correctly.
Note – I had to run the wires on the surface of the ceiling as there was an aluminium stiffener sandwiched in the insulation and I didn’t want to drill through this and destroy the integrity.
Obviously you need a dry day to this job. It should only take a couple of hours or a bit longer if you have to find a new 12 volt feed, in which case allow a morning. I am no expert so if you decide to fit one follow the manufacturer’s instructions. The Turbo fan is thermostatically controlled and you can select either ‘in or out’ for the fan direction. On the low setting it only draws .2amps so won’t hammer the battery, we have often left ours running all night. On the high setting you really do get an Arctic blast and it will rapidly cool down your motorhome.


 And then Add to Home Screen.